Embed an inquiry form on your website
Add a Joinways form to your website: every inquiry lands straight in the Inbox, already structured.
Updated
Your website is one of your best inquiry sources: a visitor who fills in a form is already interested. The Joinways form captures their details and their project, then creates an inquiry in the Inbox, attached to the right venue and ready to handle. No copy-paste, no email lost in a shared mailbox.
The form is set up per venue. Each venue has its own form and its own embed code, so an inquiry always lands on the right venue. This article covers the whole path: enabling the form, placing the code on your site, restricting the domains allowed to use it, and what happens once a visitor submits.
Prerequisites
- A Joinways account with access to Settings, and at least one venue created.
- A website whose pages you can edit to paste code, or someone who can do it for you.
- The venue must be active. A venue locked by the Free plan limit stops collecting inquiries until it is unlocked.
What you'll learn
- Enable the form for a venue from Settings then Venues.
- Copy the embed code and place it on the page of your choice.
- Restrict submissions to your own domains.
- Read the inquiry that arrives in the Inbox and convert it to an event.
Enable the form
Everything happens in the venue's settings. Repeat the steps for each venue that needs its own form.
- Go to Settings then Venues and open the venue concerned.
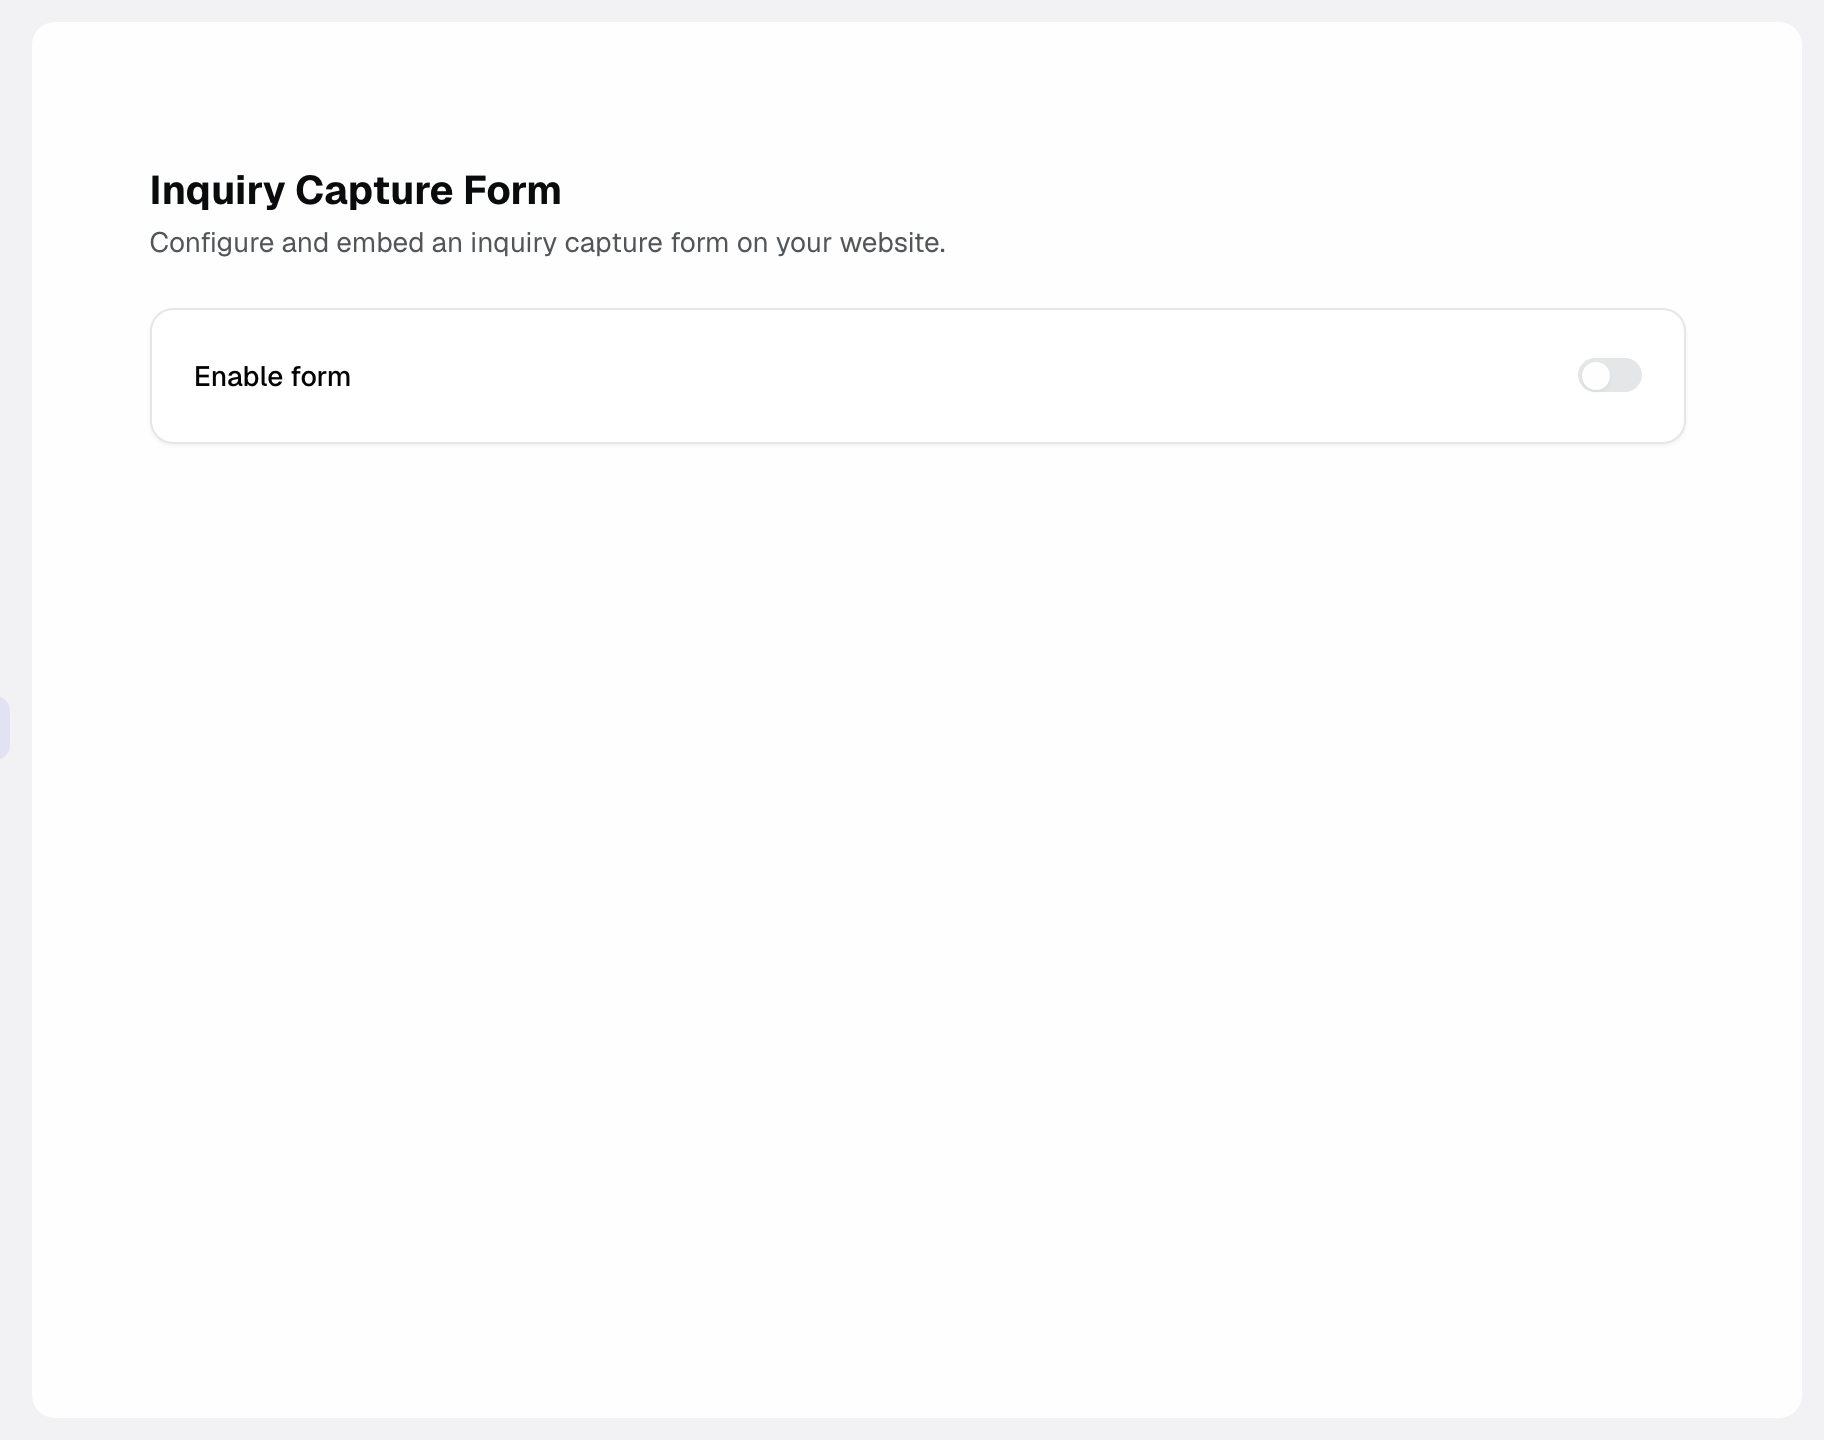
- Click Inquiry capture form.
- Turn on Enable form. Joinways generates a token specific to this venue and displays the embed code.
- Copy the code with the Copy code button.
Place the code on your site
The code comes in two parts and both are needed: a container that marks where the form goes, and a script that loads it.
- Paste the whole block into the page where you want the form: a Request a quote page, a Contact page, or your home page.
- Keep the div with the id joinways-lead-form exactly where the form should appear. That is the spot it will take.
- Put the script part just before the closing body tag, as the note under the code says.
- Publish the page, open it as a visitor would, and send a test submission to check the inquiry reaches your Inbox.
The form is displayed inside a frame that resizes itself to its content, so it adapts to your page width and to phone screens with nothing to configure.
Restrict the allowed domains
Under the code, Allowed domains lets you list the sites permitted to use this form, up to twenty. While the list is empty, every domain is accepted.
Add your domain without www, in the example.com form. A submission coming from a site that is not on the list is refused. This is what stops someone copying your code onto another site and filling your Inbox.
What the visitor fills in
The fields are the same for every form; only the choice of rooms can be turned on, venue by venue (see below). They were chosen so an inquiry is usable straight away.
- First name, last name, email address and phone number.
- Company name.
- Number of participants. This is the only optional field.
- Event dates: arrival date and time, departure date and time, plus a Flexible dates checkbox.
- A description of the project, in free text.
- Rooms you are interested in, optional: the field only shows if you turn on the choice of rooms.
Everything except the participant count and the rooms is required, so an inquiry that reaches you is always complete enough to answer.
Let visitors choose rooms
In Inquiry capture form, turn on “Let requesters choose rooms”: the form lists the venue's rooms, and the visitor's choice is saved on the inquiry. The setting is off by default, including on forms already in place.
It is only available when the venue has at least two spaces and is not set to “This venue is always privatised whole”.
The chosen rooms show on the inquiry, in the Rooms field of the Inbox, and their names are added to the description. When the inquiry becomes a new event, those rooms are booked on it; an existing event is never changed.
How it works
When a visitor submits, Joinways creates an inquiry in the Inbox, on the venue whose form was used. The client's details, the company, the dates, the times, the participant count and the description are already in their fields: nothing to re-key.
The inquiry arrives Pending, recorded as coming from your website. You handle it like any other: you qualify it, you reply, and you convert it to an event when the project firms up.
The form is protected against automated submissions and limits how many can come from the same address in a short window, so robot spam does not reach your Inbox.
The form does not send an automatic reply. If you want the client acknowledged immediately, answer from the Inbox: automations run on events, not on incoming inquiries.
Edge cases
- Several pages: the same code can go on as many pages of your site as you like. Every submission lands in the same venue's Inbox.
- Several venues: each venue has its own code. Use the right one on the right site, otherwise the inquiry lands on the wrong venue.
- Form turned off: switching Enable form off stops submissions immediately, even if the code is still on your site. Turning it back on reuses the same token, so the code you pasted keeps working.
- Locked venue: a venue locked because the Free plan limit was reached no longer collects inquiries. Its form answers as if it were disabled.
Best practices
- Put the form on a page reachable from your main menu, typically Request a quote.
- Fill in the allowed domains as soon as the form is live, so your code can only be used from your own site.
- Send a test submission after each change to the page, and check it in the Inbox.
- Use one form per venue rather than a single shared one, so inquiries arrive already sorted.
Troubleshooting
The form does not appear on my page
Cause: the div with the id joinways-lead-form is missing, or the page was not republished. Solution: check that the whole block was pasted, that the div is present where the form should show, then republish the page.
Submissions are refused
Cause: the site's domain is not in the allowed list, or the form has been turned off. Solution: open Settings then Venues, the venue, then Inquiry capture form; check the form is enabled and add the domain, without www, to the list.
The inquiry does not reach the Inbox
Cause: the code on the page belongs to another venue, or the venue is locked. Solution: copy the code again from the right venue, and check the venue is not locked by the plan limit.
The form is cut off on mobile
Cause: the block containing the form has a fixed height. Solution: let it take the height it needs; the frame reports its own height and resizes by itself.
Real-world example
A visitor fills the form on a Sunday evening: their details, their company, a weekend in June with flexible dates, 80 participants and a two-line description. On Monday morning the inquiry is in the Inbox, attached to the venue, everything in its place. You check the date is free, you reply, and you convert it to an event without having typed anything twice.
Another example
You run two venues with two separate websites. Each site carries its own code, and each allowed-domain list holds only its own domain. Inquiries arrive already sorted by venue, and neither site can submit on behalf of the other.
FAQ
Where do I find the embed code?
In Settings then Venues, by opening the venue then Inquiry capture form. The code appears once the form is enabled.
Can I choose which fields appear?
Only the choice of rooms, with “Let requesters choose rooms”. The other fields are the same on every form; the participant count and the rooms are optional for the visitor.
Do I need one form per venue?
Yes. Each venue has its own code, and that is what attaches the inquiry to the right venue.
Does the visitor get a reply automatically?
No. The form records the inquiry; the reply comes from you, from the Inbox.
Can I stop other sites from using my form?
Yes, by listing your domains under Allowed domains. Anything else is refused.
Does the form work on mobile?
Yes. It resizes to the screen it is displayed on, with nothing to configure.
What happens if I turn the form off then on again?
The code stays valid: the venue keeps the same token.
See also
- Understand the unified Inbox
- Process an incoming inquiry
- Create your venues and their spaces
Bring every event inquiry into one queue.